💥 Tanks (Canvas, Socket.io)
| Language | Rendering | Networking |
|---|---|---|
| TypeScript | Canvas | Socket.io |
The following guide will walk you through integrating and deploying a game with Rivet.
Step 1: Setup project
Run the following to clone the repository and start the server:
git clone -b pre-rivet https://github.com/rivet-gg/examples
cd javascript/tanks-socketio-canvas
npm run start
The pre-rivet branch contains the source code of this project without Rivet implemented, in contrast to the main branch. View these side by side to get a good picture of what it takes to integrate Rivet for your game.
This will open your browser to http://localhost:8080. Verify the game works.
Initialize project
Run the following command to setup your project:
rivet init --html5
Update the config
You can configure your game's Rivet config in the created rivet.yaml file. For the purposes of this demo,
you can copy and paste this config into your file:
rivet.yaml
scripts:
  start: npm run start

# How the game lobbies run and how players connect to the game.
#
# https://docs.rivet.gg/matchmaker/introduction
matchmaker:
  # How many players can join a specific lobby.
  #
  # Read more about matchmaking: https://docs.rivet.gg/matchmaker/concepts/finding-lobby
  max_players: 32

  # The hardware to provide for lobbies.
  #
  # Available tiers: https://docs.rivet.gg/serverless-lobbies/concepts/available-tiers
  tier: basic-1d1

# Which regions the game should be available in.
#
# Available regions: https://docs.rivet.gg/serverless-lobbies/concepts/available-regions
matchmaker:
  regions:
    atl: {}
    fra: {}

  # Runtime configuration for the lobby's Docker container.
  docker:
    # If you're unfamiliar with Docker, here's how to write your own
    # Dockerfile:
    # https://docker-curriculum.com/#dockerfile
    dockerfile: Dockerfile

    # Which ports to allow players to connect to. Multiple ports can be defined
    # with different protocols.
    #
    # How ports work: https://docs.rivet.gg/serverless-lobbies/concepts/ports
    ports:
      default:
        port: 3000

  # What game modes are available.
  #
  # Properties like `max_players`, `tier`, `dockerfile`, `regions`, and more can
  # be overridden for specific game modes.
  game_modes:
    default: {}

# How Rivet CDN should host your static assets on our CDN.
#
# https://docs.rivet.gg/cdn/introduction
cdn:
  # Command to run before uploading the site to Rivet. This can be used to
  # build any JavaScript bundles or generate assets.
  build_command: npm install && npm run build:client:prod

  # The folder to upload to Rivet.
  #
  # If you're hosting a website, ensure that `index.html` is in the root of
  # this folder.
  build_output: ./dist/

kv: {}

identity: {}
Step 2: Integrate Rivet Matchmaker
Install @rivet-gg/api
Run the following to install the library to interact with Rivet:
npm i @rivet-gg/api --save
Update the client
Add the following to the top of client/Client.ts:
import { RivetClient } from '@rivet-gg/api';
const RIVET = new RivetClient({ token: process.env.RIVET_TOKEN });
In development, RIVET_TOKEN will use the development token generated by rivet run. In production, RIVET_TOKEN will be automatically added by the CDN.
More info:
Find the connect function in client/Client.ts and replace it with the following:
async function connect(client: Client) {
  // Find a lobby to connect to on Rivet
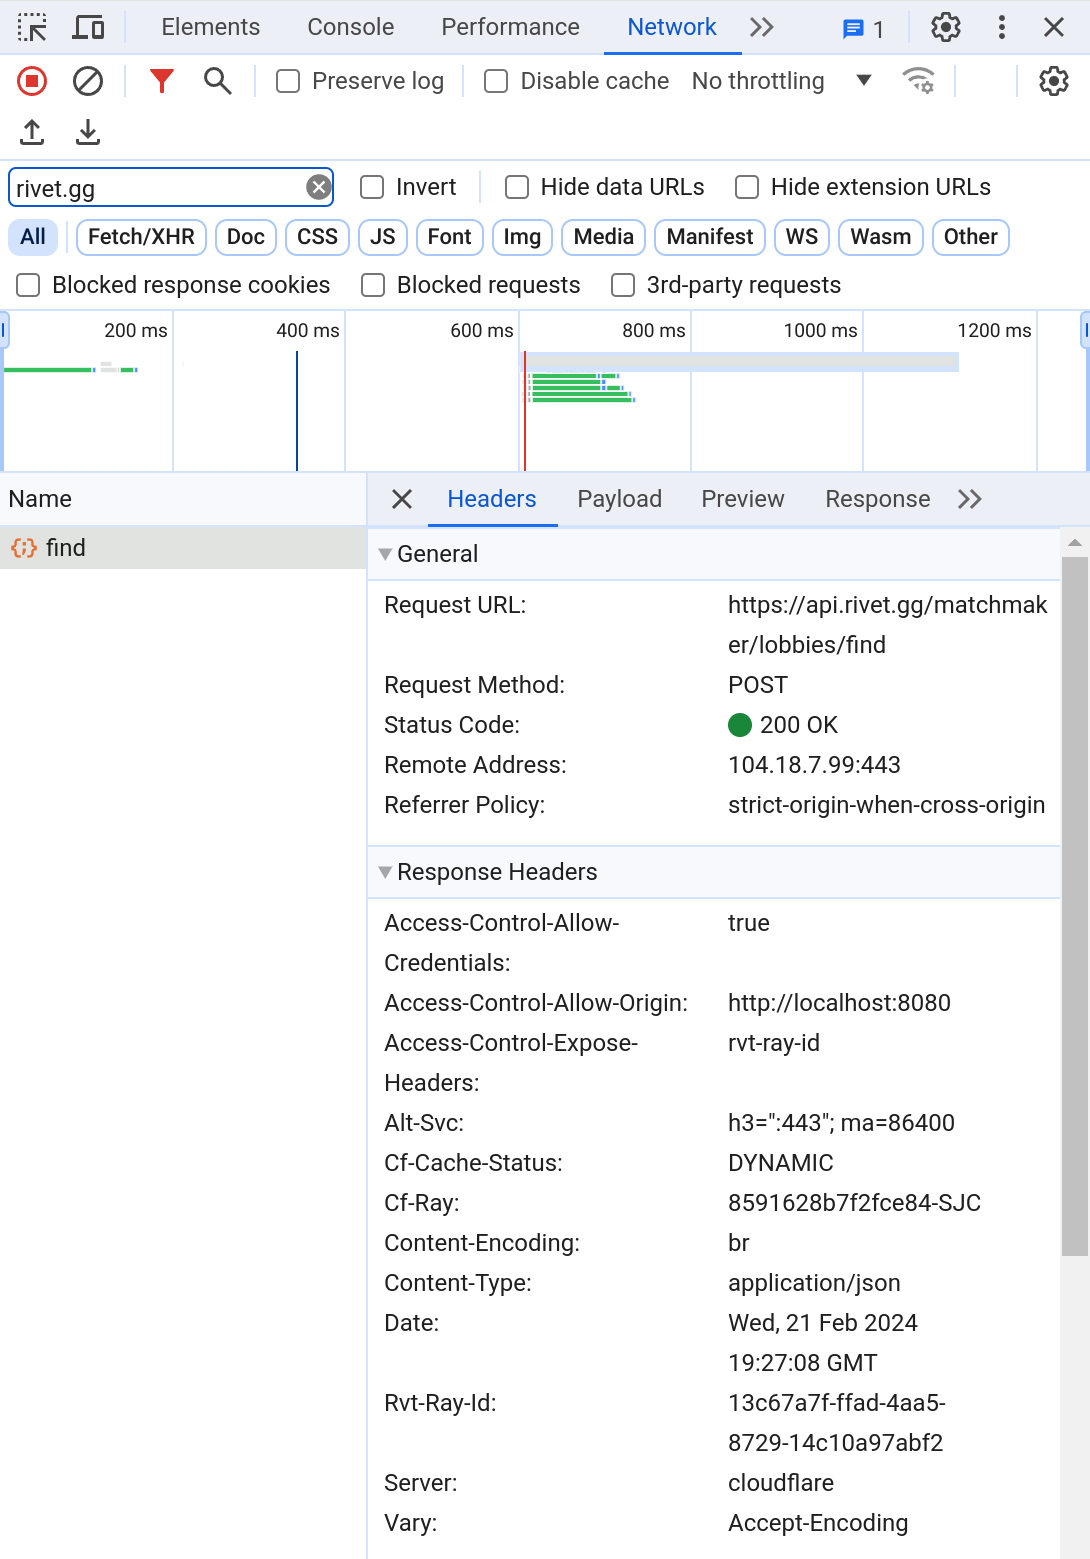
  let res = await RIVET.matchmaker.lobbies.find({ gameModes: ['default'] });
  let port = res.ports['default'];

  // Open a new connection to the lobby
  client.connection = new Connection(client, port.isTls, port.host, {
    token: res.player.token
  });
}
Update the server
Add the following to the top of server/index.ts:
import { RivetClient } from '@rivet-gg/api';
const RIVET = new RivetClient({ token: process.env.RIVET_TOKEN });

// Notify Rivet that this lobby is ready to accept players
RIVET.matchmaker.lobbies.ready();
In development, RIVET_TOKEN will use the development token generated by rivet run. In production, RIVET_TOKEN is automatically added to your environment by Rivet.
More info:
Find the setupConnection function in server/index.ts and replace it with the following:
async function setupConnection(socket: Socket) {
  // Read the token passed to the socket query
  let playerToken = socket.handshake.query.token as string;

  // Validate the player token with the matchmaker
  await RIVET.matchmaker.players.connected({ playerToken });

  // Remove the player when disconnected
  socket.on('disconnect', () => RIVET.matchmaker.players.disconnected({ playerToken }));

  new Connection(game, socket);
}
Run with Rivet
Finally, after stopping the previous npm run start, run rivet run start and validate the game still connects.
Step 3: Deploy to Rivet
Now that you managed to get the game running locally, you can deploy your game to Rivet with:
rivet deploy prod
The CLI will print a link ending in rivet.game. Share the link with a friend to play your game on Rivet! 🎉

